
Product variations / linked products
This feature is only available on Stretch, Impact and Prestige v7 and higher.
In Shopify, you can use variants to create different options for a given product. While variants are very powerful, they can be too limited if you want to create vastly different pages for each variant.
For instance, you may want to create completely different sections, color schema, or content based on the variant but still be able to link those variations to the related products. You can see an example of this feature in our demo by clicking here. As you can see, if you select a variation, you are redirected to a different product page.
Prestige offers a built-in solution to this problem by allowing you to use metafields to link different products.
While this feature allows you to emulate variations on a given product page, internally, each product will still be an individual product. Each variation will appear as an individual product on the collection and search pages. Showing swatches in collection pages won't be possible, either.
To use set up this feature, please follow the instructions below:
1/ Create one product for each variation in your Shopify admin. For instance, if you want to create one product page per color, create one product for every color variation.
2/ You will now need to create two product metafields: one that will hold the actual value for the option (for instance, "Red," "Blue,"...), and one metafield that will hold the list of products to show.
To do that, open the Metafields in your Shopify admin and click on "Products":

3/ At the top, click on Add definition.

For the name, write something Variation value. Select the Single-line-text metafield type, and make sure that "One value" is checked. It should look like this:

4/ Click "Add definition" again to create a second metafield. This time, name it Variation products, select "Product reference" as metafield type, and select "List of products". It should look like this:

5/ Now that metafields are created, we must connect them to the theme editor. The screencast below will guide you through the steps. Make sure to follow them strictly:
Let's focus on this part of the video, as you might have to adjust it to your needs:

The Option name setting controls what the theme will show when the product variations are displayed on your product page. For instance, the Color entered in the screenshot before will be displayed as the option name:

If you create variation based on a different option name (Size, Material...) you must adapt it to your needs.
The option value metafield setting must be "custom.variation_value" as shown in the video unless you named the metafield differently at step 3.
Finally, the Products setting is mapped to the product list reference metafield we have created in step 3.
6/ We have now set up all the features. What is left is filling in the information for all our products to create the link between them. To do that, in your Shopify admin, open the first product you want to link and scroll down to the "Metafields" section:
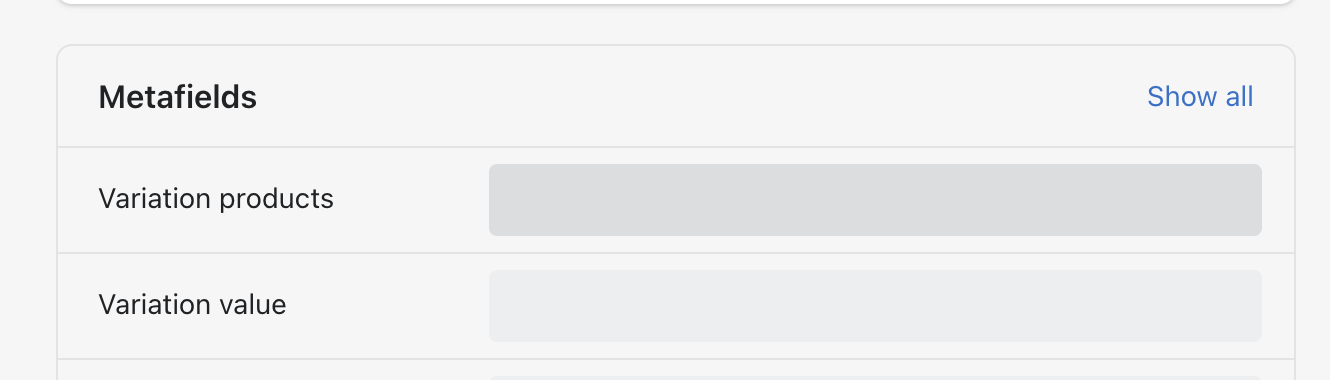
For "Variation value," enter the option value for the variation (for instance, if you want to create variations based on the color, then the variation value should hold the actual color value for this product, such as "Red," "Blue," "Green"...).
Then, for the "Variation products" metafields, select all the product variations that should appear in this product (make sure to include the product itself as well).
Finally, repeat the same process for every variation product by adjusting the variation value for each product (the "Variation products" metafields, on the other hand, should contain the same list of products for every product within a group).
FAQ
Do product variations work with native color swatches?
Product variations / linked products don't work with native color swatches. Native color swatches are connected to actual variants, while product variations feature is faking combined listing by using metafields.
If you are using colors for product variations, the only way to configure color swatches is by using the config-based approach for color swatches. To configure color swatch config, open the theme editor, navigate to general settings, click on "Color swatches" category, and fill in the configuration.